
How to Get Started Climbing
Posted by Danielle Maxey on Jan 23rd 2020
With climbing gyms opening all over the world, competitions being added to the 2020 Olympics, and major films like Free Solo and The Dawn Wall gaining notoriety, climbing is up and coming in the world of outdoor sports. However, getting into it can be intimidating starting off.
1. Take a Class
Many mega-gyms, local crag gyms, and some rec centers with a wall, offer introductory courses into climbing. They'll teach the necessary skills such as how to tie knots, using gear correctly, commands and signals, belaying, and techniques on climbing and falling correctly. Taking a class is great for not only learning how to keep yourself, and others around you, safe, but they are nice for meeting potential climbing partners who want to learn as well.
2. Buy Your First Pair of Climbing Shoes
After you know you like it, buying your first pair of climbing shoes is a big step into the climbing world. Many gyms rent out climbing shoes, but getting your own allows you to get something feels like it was made specifically for your foot.
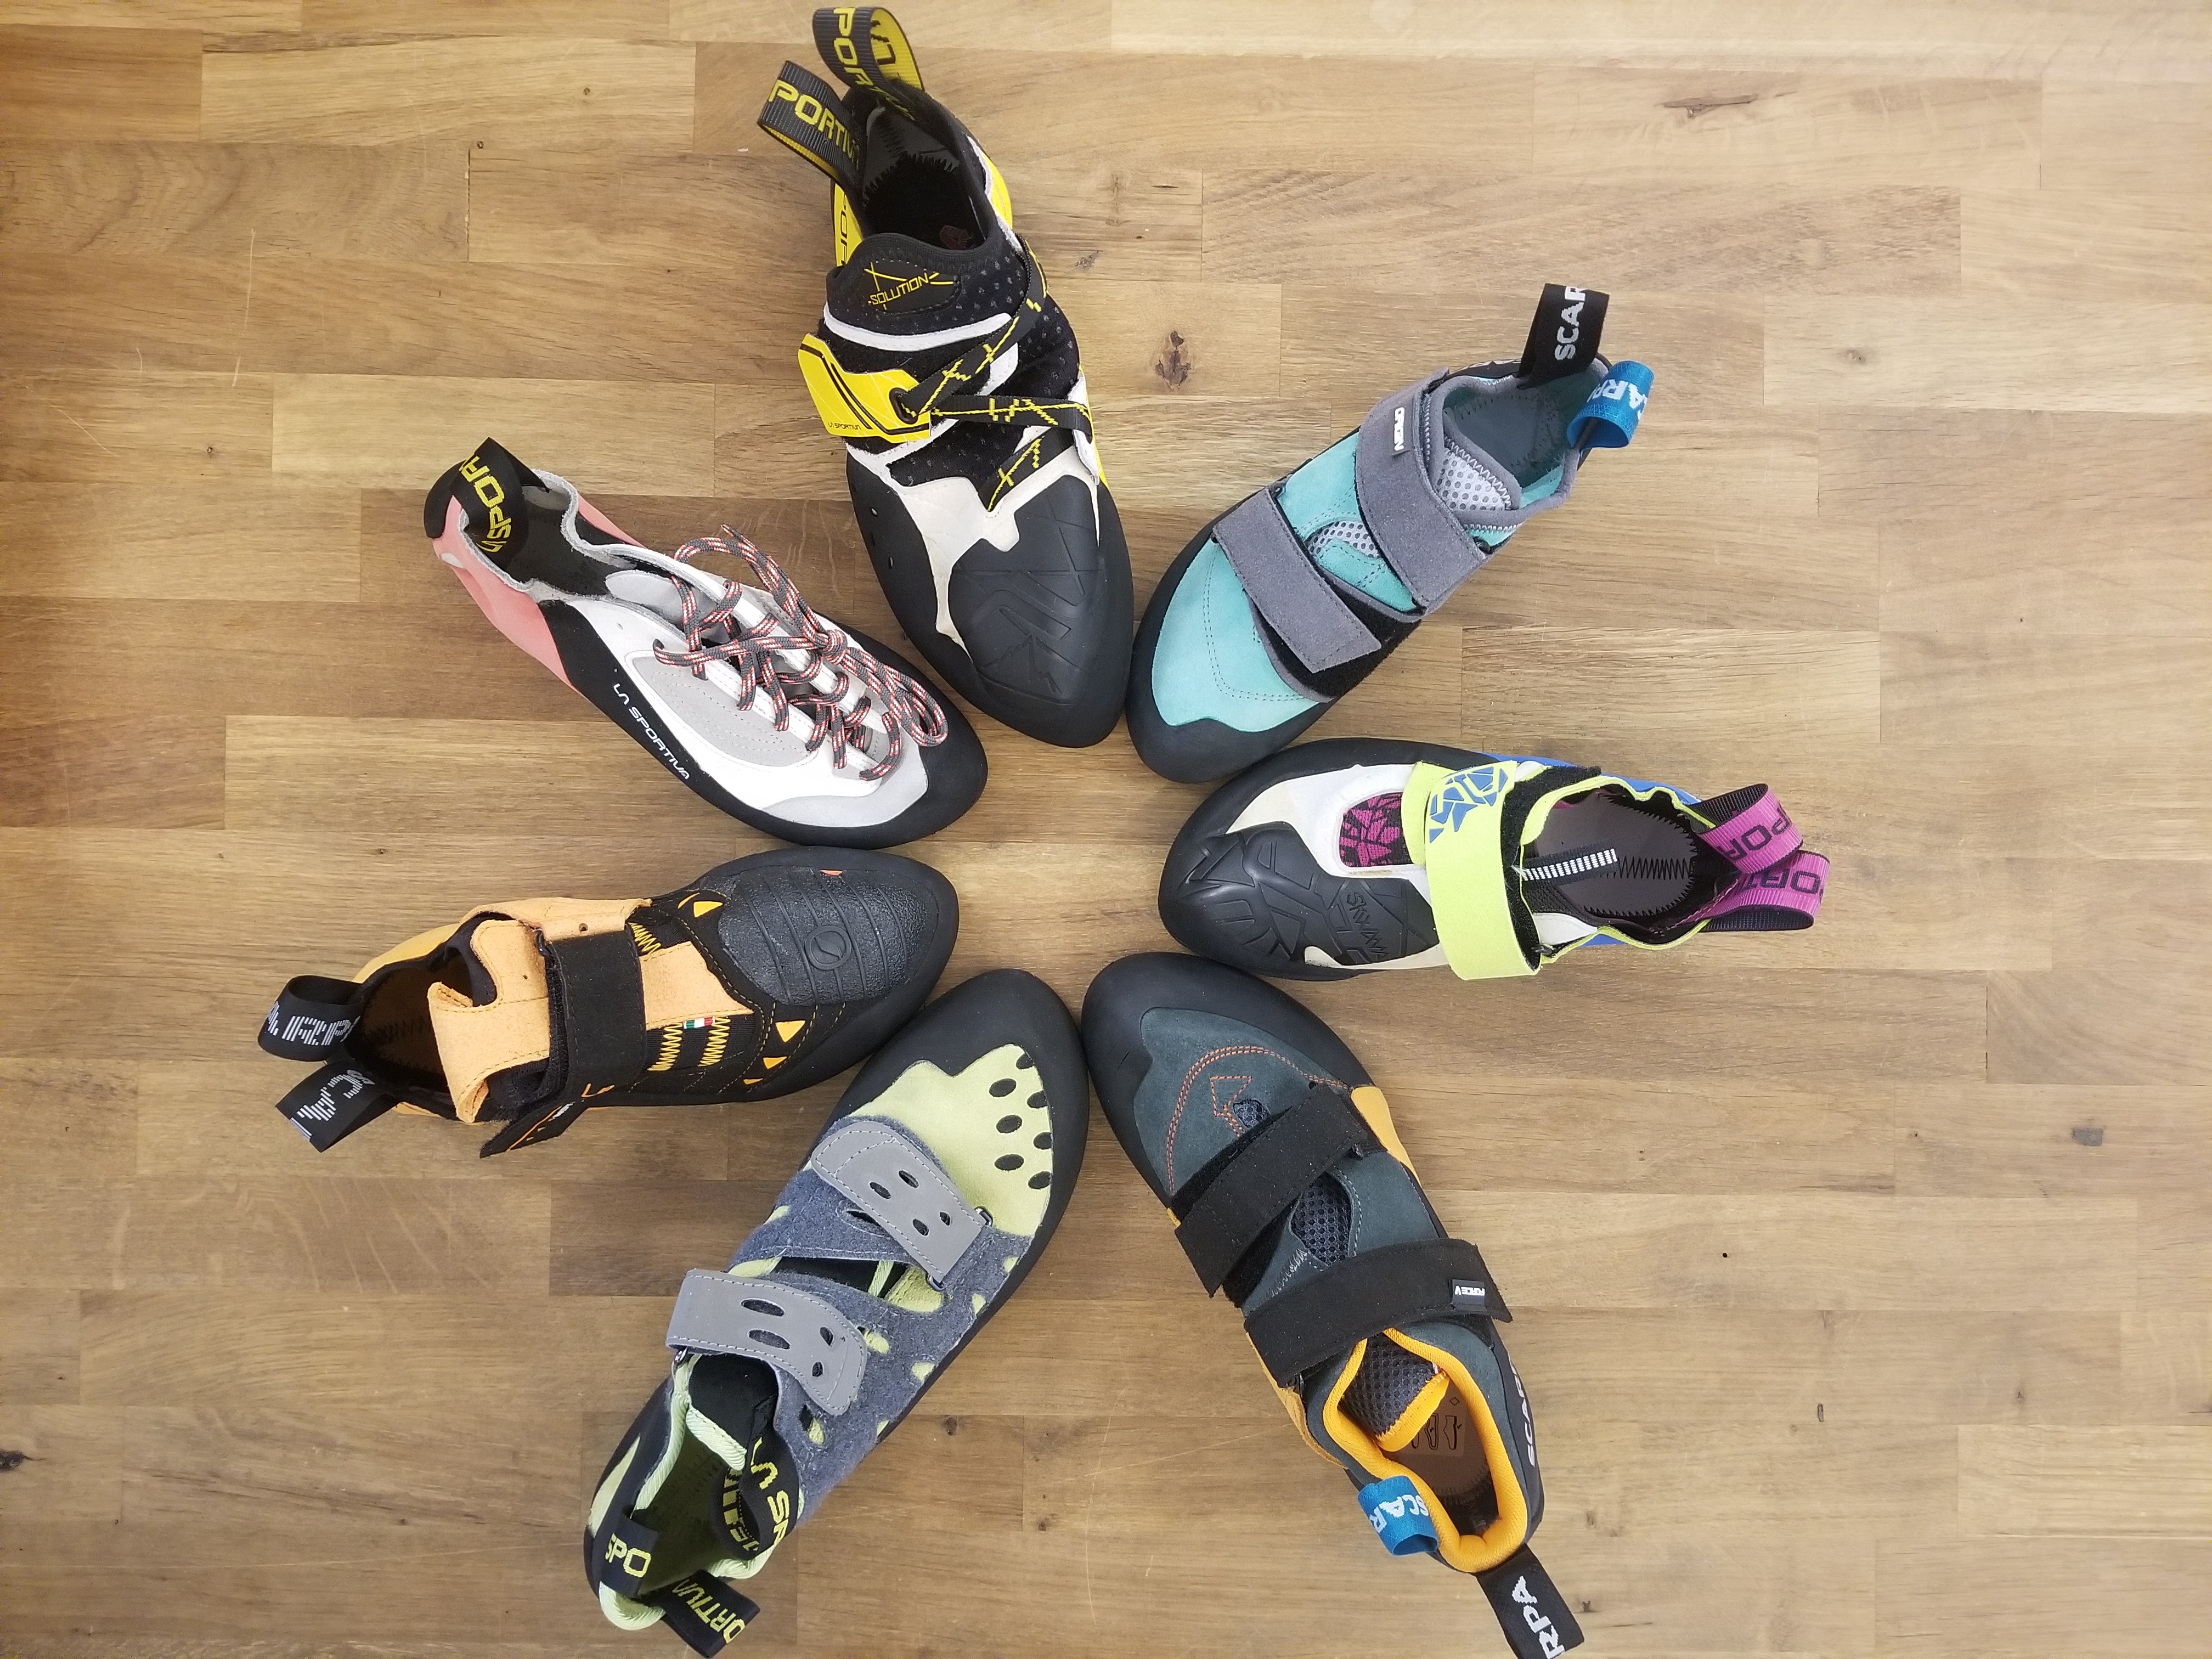
There are a few different options for climbing shoes out there, and many different brands. When starting out, you want to be sure that you buy a pair that is not aggressive (down-turned). It may take trying on dozens of shoes to find the one that is right for you.
Different brands will fit differently, so be sure to talk to your local outdoor store about how they should properly fit. Unlike other shoes, you don't want extra room in your climbing shoes. Your climbing shoe should fit snug, but not be painful. You will also want to downsize as the shoe will stretch the more you wear. We recommend going down at least a half size in your first pair of climbing shoes.
Browse our selection of climbing shoes here.
3. Get the Right Climbing Equipment
Once you have purchased your climbing shoes, the next step is buying the rest of your gear to keep you safe out there. Many sure you know how to use your harness and belay device properly before attempting to climb without an instructor. If you are ever unsure, consult with the manufacturer or the instructors at your local climbing gym.
1. Harness
This is one of the most important pieces of gear when rope climbing. You want to make sure the harness fits correctly and is not able to pull down over your hips. You also want it to be comfortable when hanging in it for long periods of time. Many climbing stores will have an area for you to hang in the harness to see if it feels comfortable while loaded. One of the most popular ones starting out is the Momentum Harness from Black Diamond. This harness has some extra padding with gear loops for when you progress to outdoor climbing.
2. Belay Device and Locking Carabiner
Another extremely important piece of gear to keep your climber safe, the belay device allows for you to take rope up when the person is climbing so as to minimize falls. It also lets you safely lower the climber when they are done with the route. There are many options out there for belay devices and different types of belay devices. There are Tubes, Auto-Blocking, Passive Assisted Braking, and Active Assisted braking devices. This relies on personal preference and what you need your belay device to do for you. Many climbers start off with tubes, such as the Black Diamond ATC, though many gyms are switching to Active Assisted braking devices like the Petzl GriGri as these can lock the brakes in case the belayer forgets to properly belay and brake in case of a fall. (You should still never rely on the device to do the braking for you)
3. Chalk Bag and Chalk
Chalk is great for keeping your hands dry when they start to sweat on long or hard routes. It helps you to stay on the holds, especially small crimps or slopers. High end chalk like Friction Lab or Black Diamond's Black Gold mixture is very popular with climbers right now.
Gear You Will Need Later On:
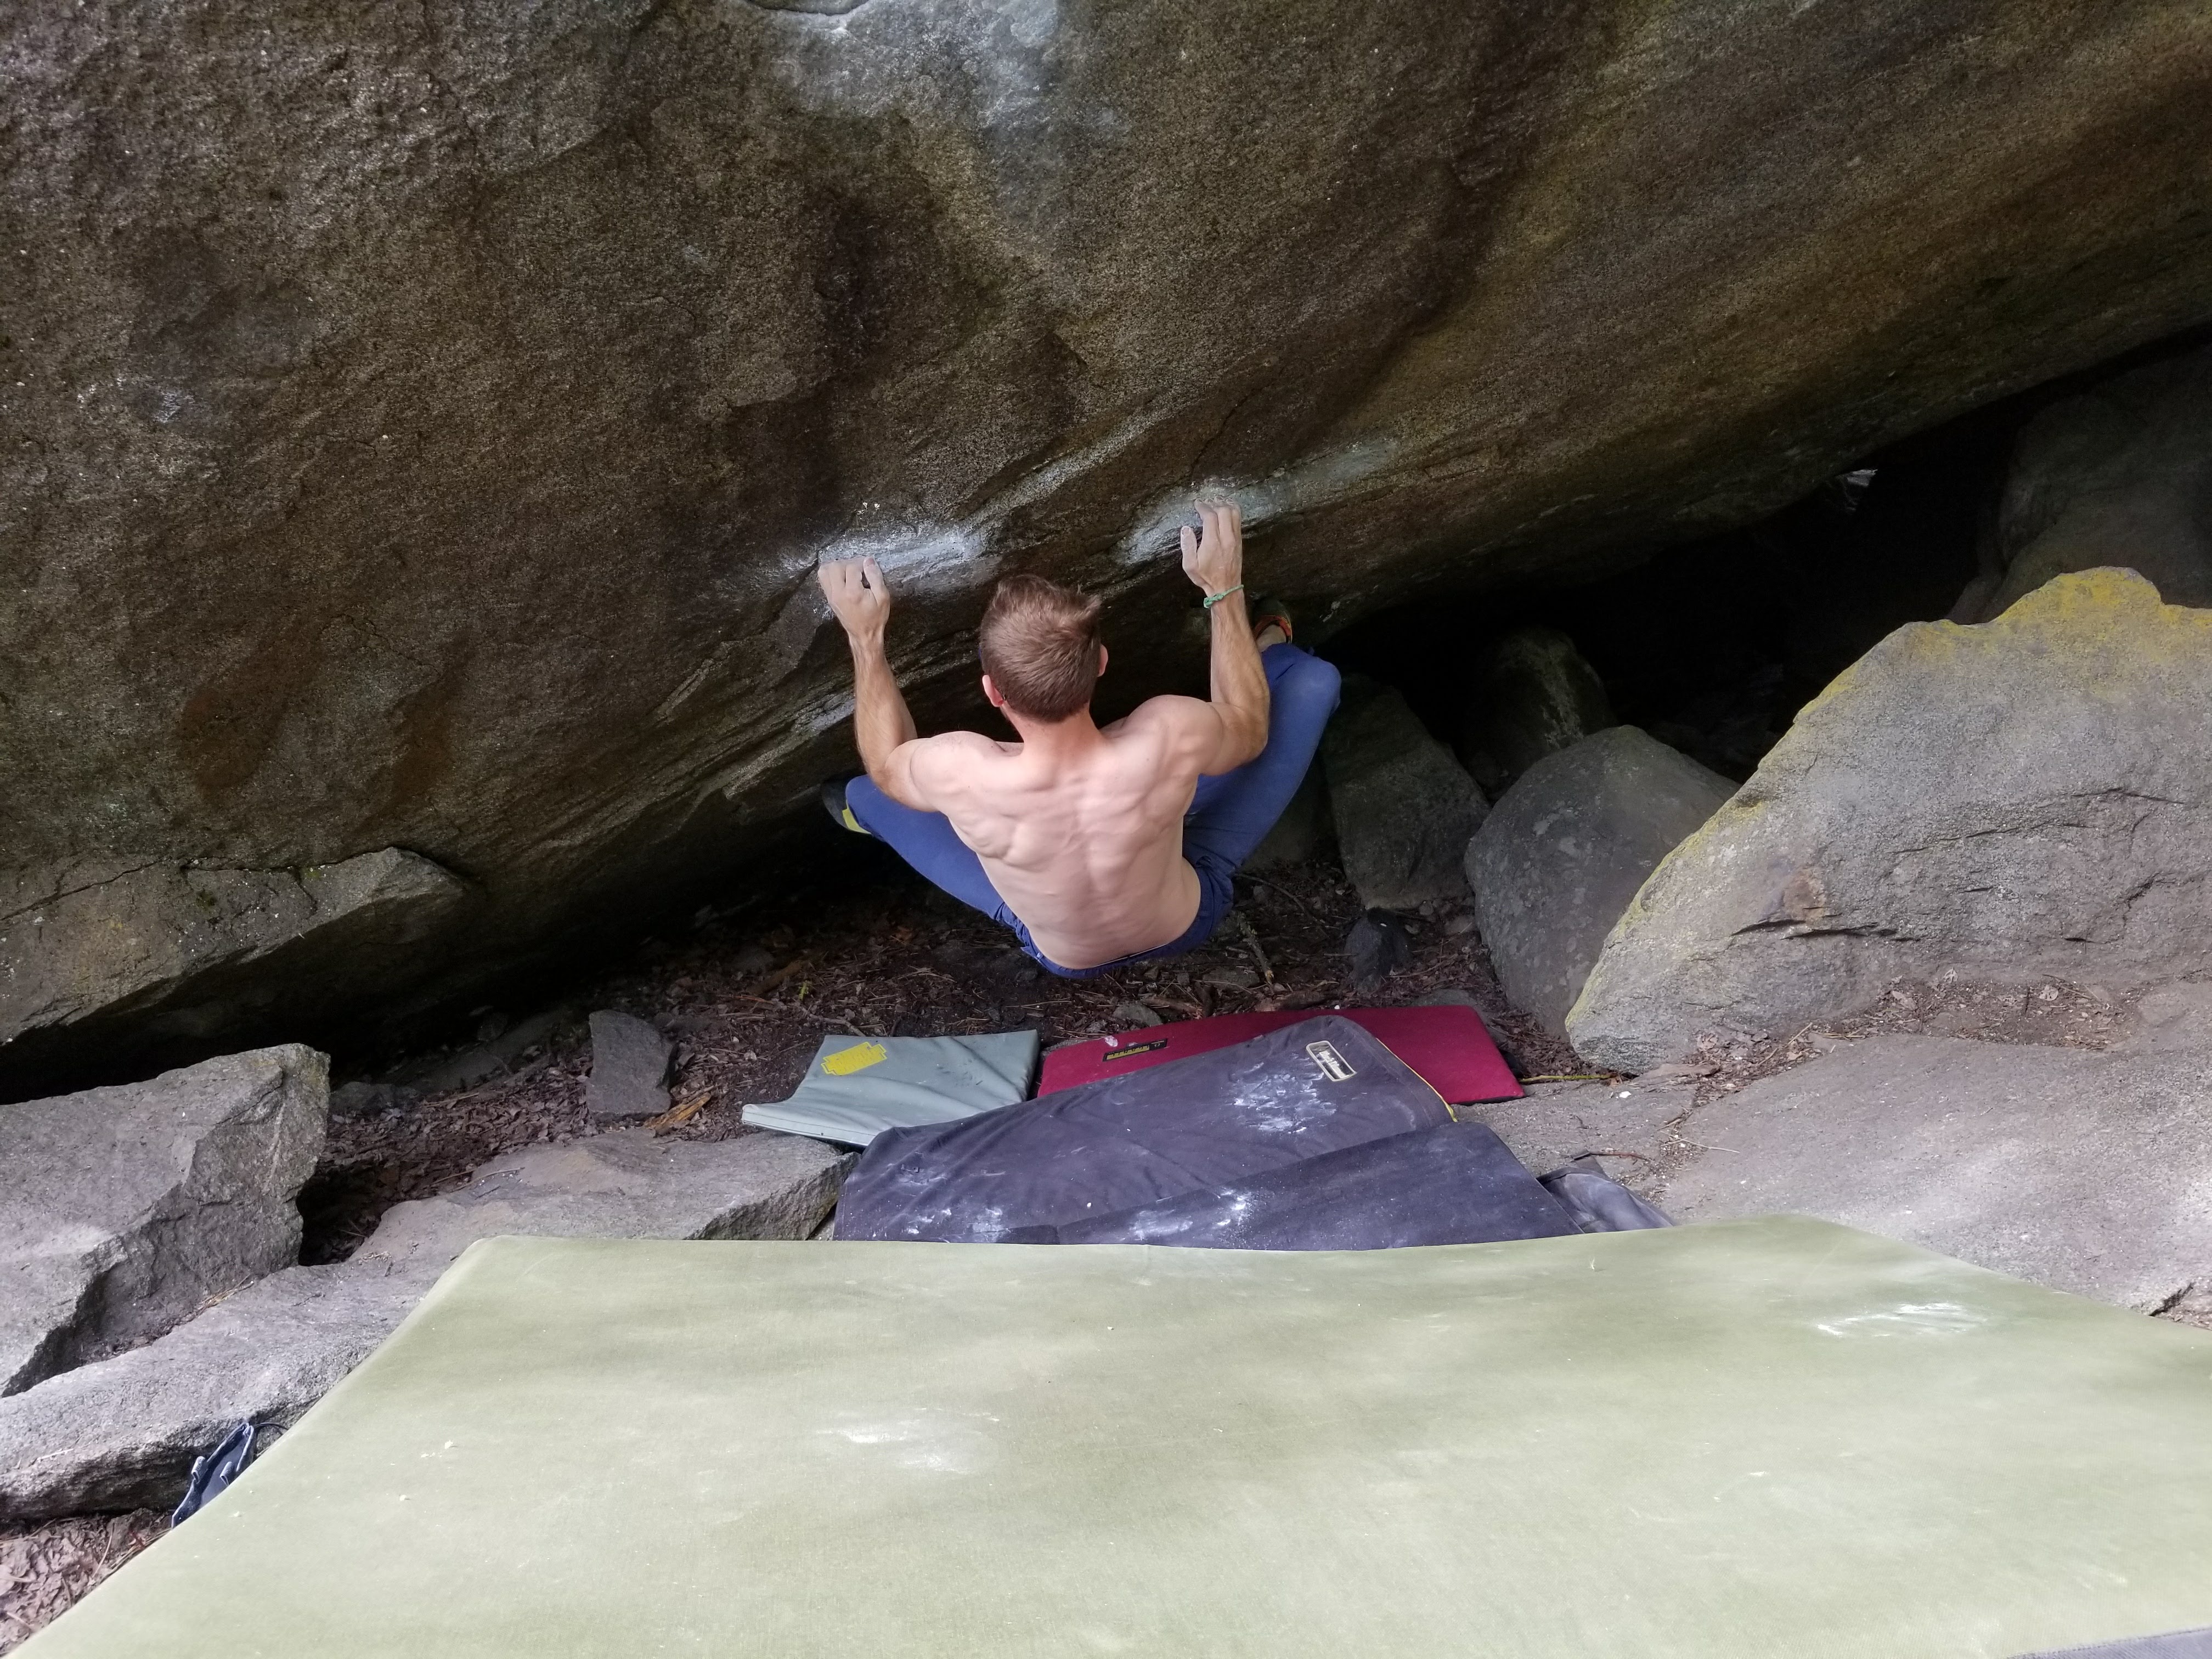
4. Crash Pad
You will need a crash pad if you want to start bouldering outside. Bouldering is a type of climbing that is unroped and involves putting a thick foam pad, a Crash Pad, on the ground below the boulder problem to protect your fall. Boulder routes typically don't go as high as rope problems and usually top out at 15 to 20 maximum. You also don't necessarily need a partner to go bouldering, though one can be nice for company and for a spot over a risky move. Many climbers prefer bouldering for its simplicity; just get a crash pad, shoes, and chalk, and you are set.
It is also easy to travel to bouldering destinations without dragging along a lot of gear. Many places rent out crash pads for climbers to take with them. If you are planning a trip to Colorado and need a crash pad, be sure to rent one from our Denver location.
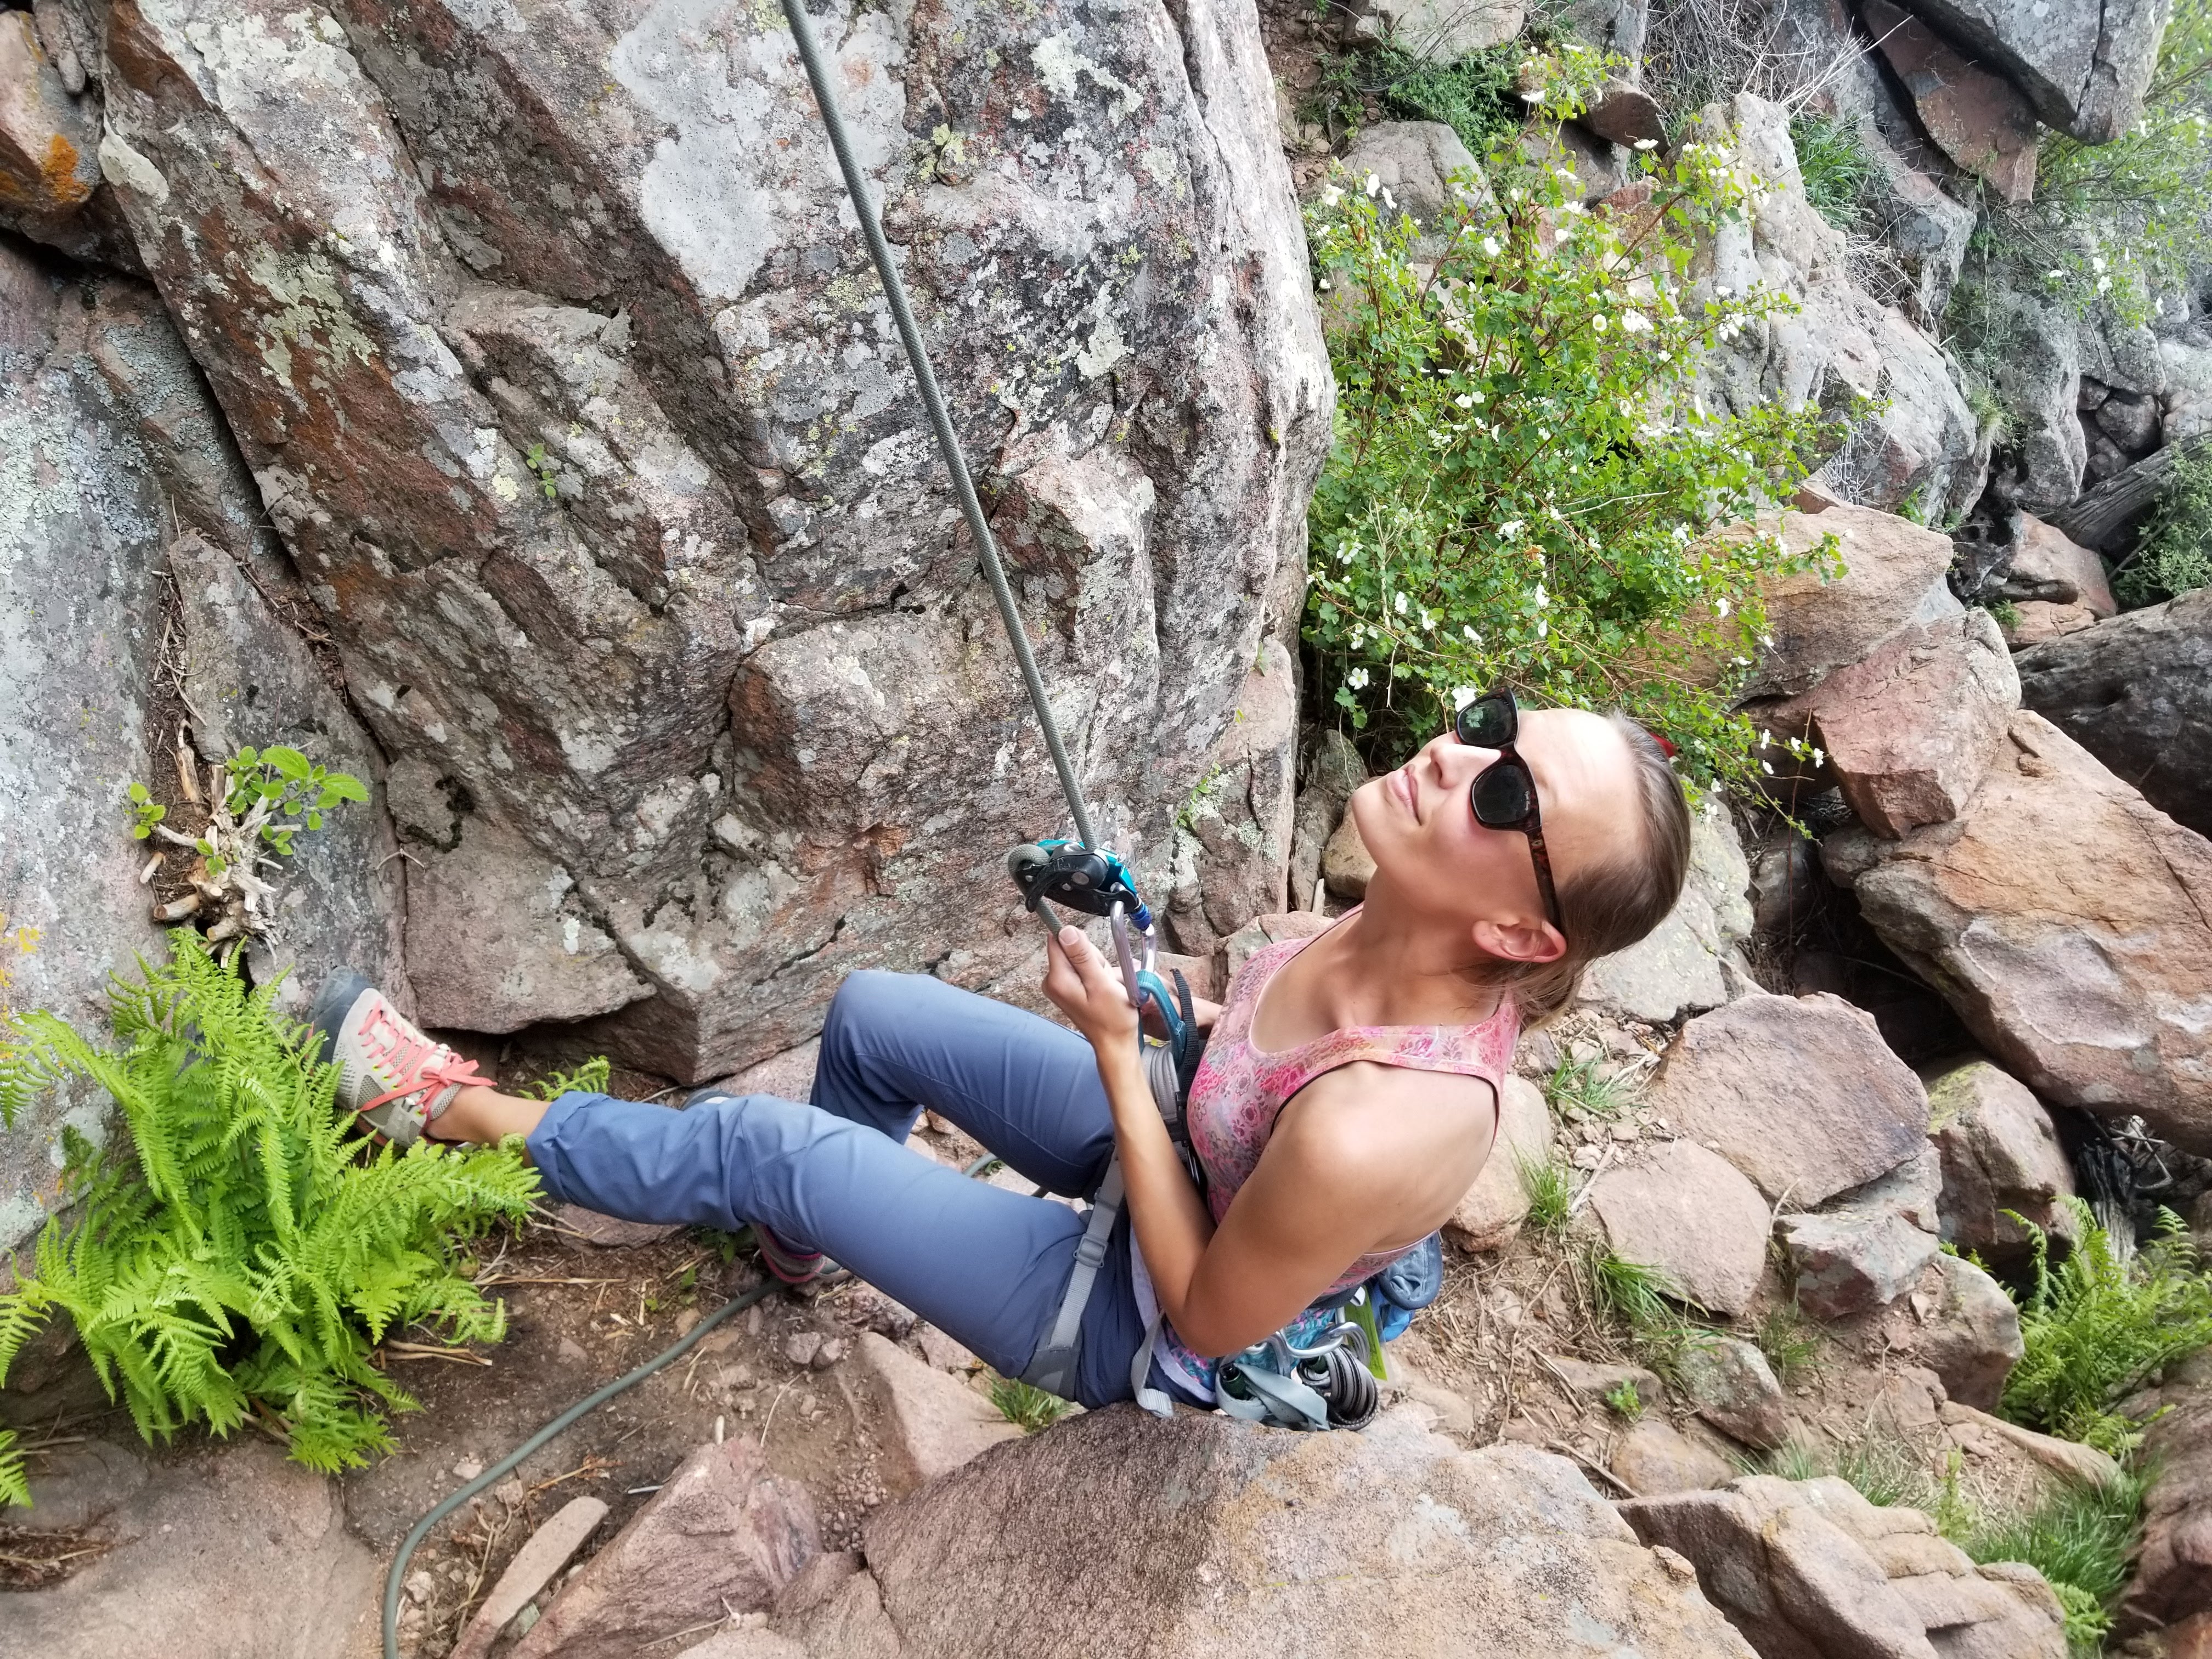
5. Rope
Some gyms require you to bring in your own rope once you've started Sport Climbing, a type of climbing where you bring the rope up with you and clip it to bolts as you progress up the wall. You will also need a rope to do any outdoor climbing. Ropes come in different thicknesses and which thickness you need with depend on what you are using the rope for. Starting off, you may want a dynamic rope that is thicker, around the 9.6mm to 9.9mm range as they tend to be burlier and more durable. Later on, a rope that is 9.2mm to 9.5mm may fit better, as these are lighter weight and better for long days on the rope. Ropes smaller than that are more specialized and are meant for different climbing objectives than wall climbing.
Ropes come in different lengths as well. A 40 meter rope is the perfect gym sized rope so you have less to work with as any longer is usually not needed in a gym setting. 60 meter ropes will get you almost any single pitch route outside, but for those looking to eventually get in to multi-pitch climbing, or what the extra length for the outlier routes, a 70 meter is the way to go.
We carry a variety of length and thicknesses of climbing ropes in store and online.
7. Helmet

You will also need a helmet if you plan to start climbing outside. While many pro climbers may be pictured not wearing them, the majority of climbers do. A helmet not only helps to protect the climber from head injuries from hitting against the wall when they fall, but it also helps to protect both the climber and the belayer when rocks are dislodged from the wall while climbing. Many times, a helmet can keep the belayer conscious in case of a rock hitting them, allowing them to safely belay and lower the climber after.
6. Protection
Many times you will hear the word protection as you start getting into climbing. This refers to gear that is placed in the rock or in bolts outside as well as anchor building tools for the rope. Gear such as camelots, nuts, quickdraws, slings, quicklinks, and more fall into this category, but it isn't something you will need until later in your climbing career once you venture into outdoor climbing.
Pro Tip: Especially when starting out, buy the Black Diamond Package. It is a great deal that includes everything you need to get started climbing, with the Momentum Harness, Belay Device, Locking Carabiner, Chalk Bag, and Chalk.
4. Go Climb!
The best way to get better at it is to go climb! Many climbing gyms will offer classes to help you progress in climbing through strength training, footwork skills, rope techniques, rescue skills, and climbing partner meetups. Some gyms will also organize local competitions which can be a fun way to get involved with the climbing community. Others also do courses on climbing outside as well, to get you started on progressing from indoor climbing to outdoor climbing.
If you have any questions, leave a comment below or fill out the Contact Form to talk to an expert. We'll get back to you as soon as we can!